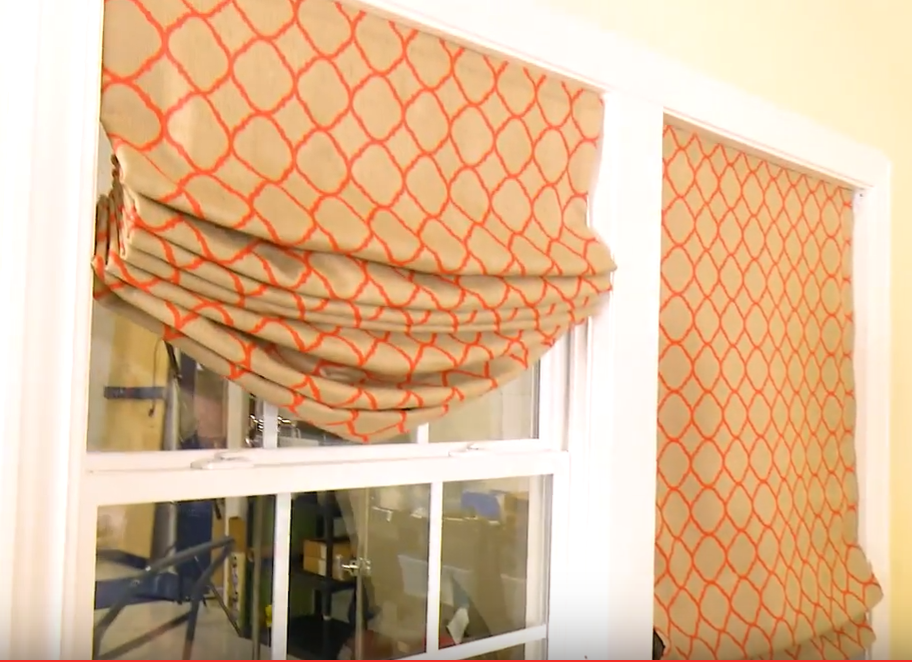
Two Relaxed Roman Shades (Retracted and Extended)
Roman shades are merely panels of fabric hung over walls or windows in such a way as to permit them to be easily folded in neat layers up out of the way exposing whatever they cover. They are popular for two reasons. First they can be wonderfully decorative. Second, at least when used to cover windows, they can provide privacy and shelter from harsh sunlight on an "as needed" basis.
Two Relaxed Roman Shades (Retracted and Extended)
This little eBook is intended as a guide for building one particular style of shade. Just as there are many kinds of roman shades, there are many relaxed roman shade versions (winged, London shade, balloon, tailed, skirted -- all these terms and more are used to distinguish variations of relaxed shades). The shade that we will build can be considered the prototypical version of all these others. It is very simple with a single well controlled or disciplined swag at the bottom.
Just as there are many types of roman shades, there are many variations in construction techniques and measurement rules. What we have to say below is not by any means the only way to build relaxed roman shades. And the measurement rules that the calculator yields are not uniquely "right". So feel free to modify the procedures that follow if the result will better suit particular needs. On the other hand, everything that follows has been carefully tested and should yield excellent results.
The shade we will build will be lined. It will make use of simple cord “lift lines” with rings. There will be a weight bar on the final segment. There will be no ribs. The edges will be finished with a "pillow case" tucked seam. We will build a shade to fit inside the frame of a window. That frame measures 33.75 inches (857.25 mm) in width and 45 inches (1143 mm) in height. Of course, these measurements should be modified as required. Carefully substitute your measurements for all that follow. For an inside mount, where the shade fits inside the window frame, measure from one frame to the other. For an outside mount the width is really dependent only on preference and mounting limitations.

Inside Mount Measurement
The length of relaxed roman shades is generally greater than the opening that they cover. Extra length is required If the shade is ever to block the opening completely. Of course, if mounted inside a frame the shade will probably not often be extended below the sill. But extra length is not a problem here since the natural condition of the shade is to have several folds at the bottom. Extra folds just add to the appeal of the shade. So... measure the intended height of the shade and use this figure to calculate fold and cut dimensions with the calculator.
The resulting shade will be roughly three quarters of the swag depth longer than that measurement. If the shade is relatively wide and short (wider than it is long), it is likely that a more complete coverage of the opening will result if the finished length (input B in the calculator) is increased by one quarter of the expected swag depth. But whether this option is employed or not the rusulting shade will look good when mounted.
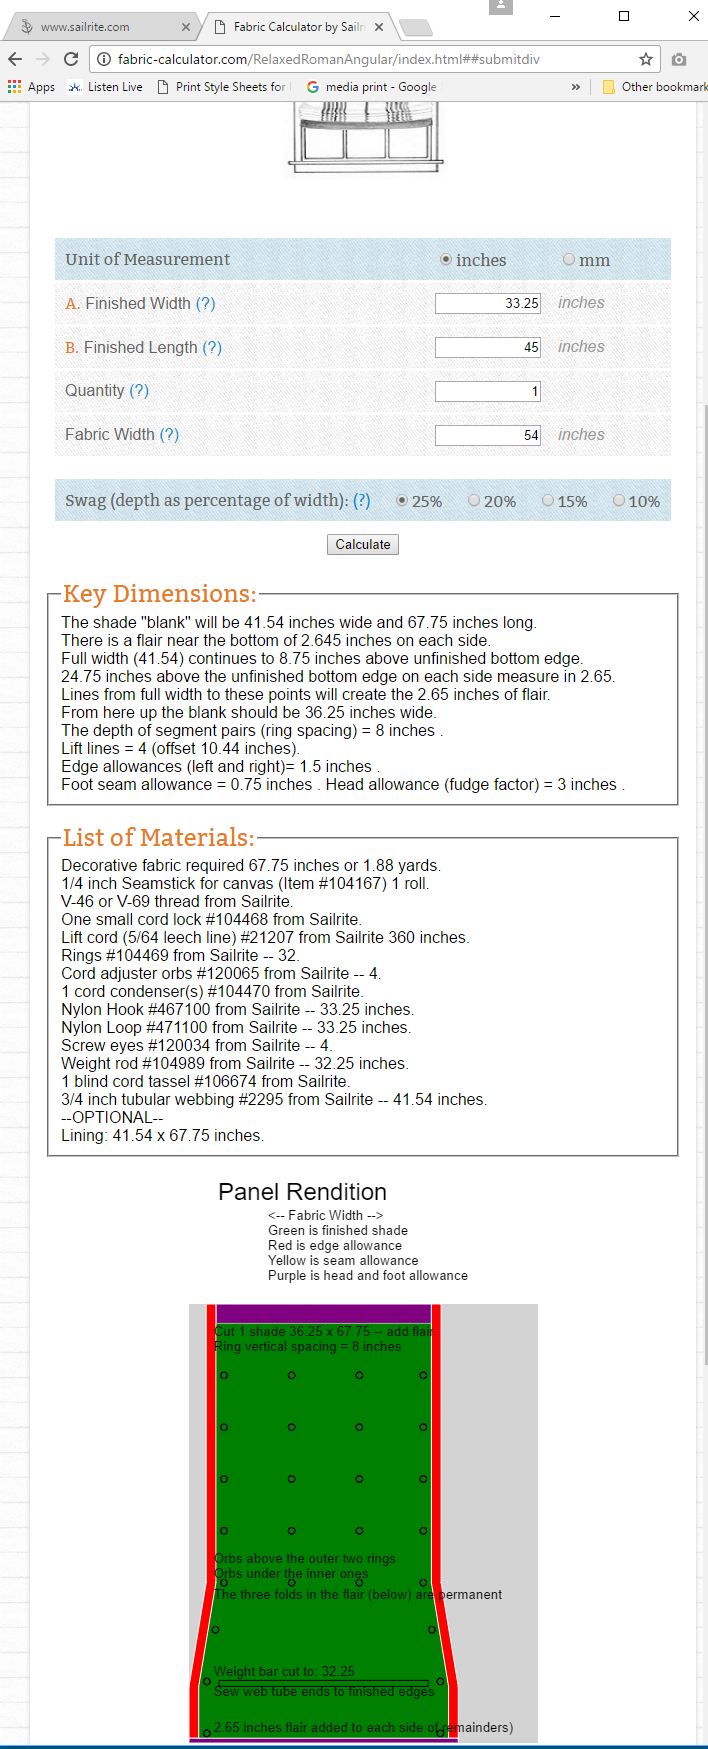
The first order of business in a project like this is to make good use of the fabric calculator. Pull up the calculator and enter width (33.25 inches in our example — we will allow for a quarter inch clearance on each side) and height (45 inches in our example) and fabric width (54 inches here).
Note that the edge allowance defaults to 1.5 inches (38.1 mm) -- this extra fabric will be added to each side of the shade for a total addition of three inches (76.2 mm). And swag defaults to 25% of the width of the shade. The swag percentage can be reduced if desired.
Hit “calculate”. Scroll upward to reveal the entire shade rendition. Several things should be noted.
The Relaxed Roman Shade Calculator
First, rings are indicated only on alternate segments. Folds will be created between ring lines. They are formed by symmetrical segment pairs collapsing upon one another.
Second, the length and width dimensions are displayed on the rendering. These dimensions include the extra material required to finish edges and build in the swag in the shade bottom. Edge allowance is in red on the rendition and head and foot allowance is indicated with purple.
Third, there are no ribs in a relaxed shade. There is a weight rod cut to the finished width of the shade at the top of the second segment less .5 inch (12.7 mm) on each end, this is placed at the top of the first permanent fold. The weight rod will be inserted in a tubular webbing sleeve that extends the full width of the shade including flare. It will be secured only at the sides of the shade with the weight bar centered in its length.
Fourth, lining fabric is included in the list of materials but it is optional. We will be using a lining with this shade. The kind of lining used is of no consequence here. Of course, blackout lining will serve to better darken a room and UV resistant lining will extend a shade's useful life, but construction techniques are not effected by these choices
Fifth, the equivalent of six extra segments is added to the length of the shade. These segments (three segment pairs) will be used to form three permanent folds at the shade bottom. These folds are in fabric that is longer than the width of the finished shade. The excess length, when gathered to the narrower width, sags to form the "swag" in a relaxed shade. The greater the flare in the six bottom segments, the deeper the swag will be.
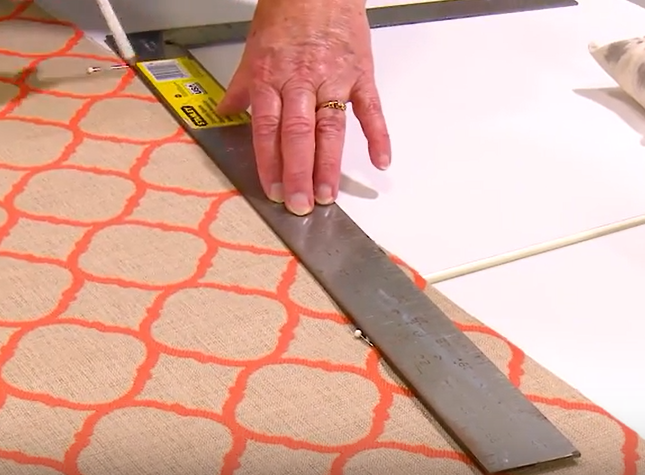
Squaring the Fabric Using Pattern as a Guide
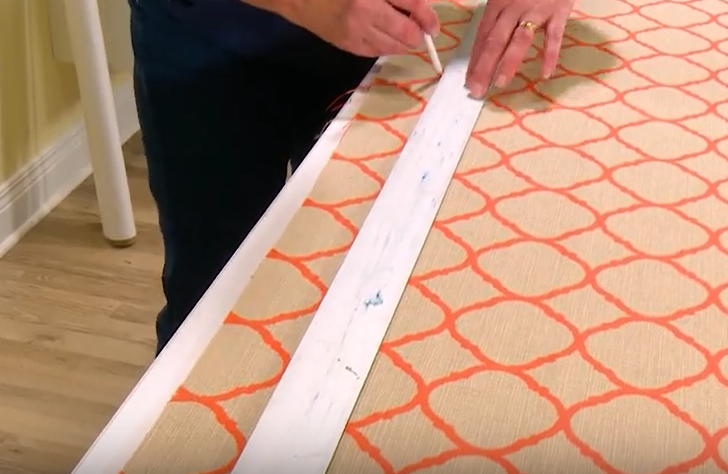
Cut the single 67.75 by 41.54 inch panel (1720.85 by 1055.12 mm) that will make the face panel for this shade. Carefully note which end of your cut panel is “top” and which is “bottom” (some patterns do not look good upside down). Start cutting by squaring the fabric roll at its beginning. This can be done with a long T-square or by using the pattern itself.
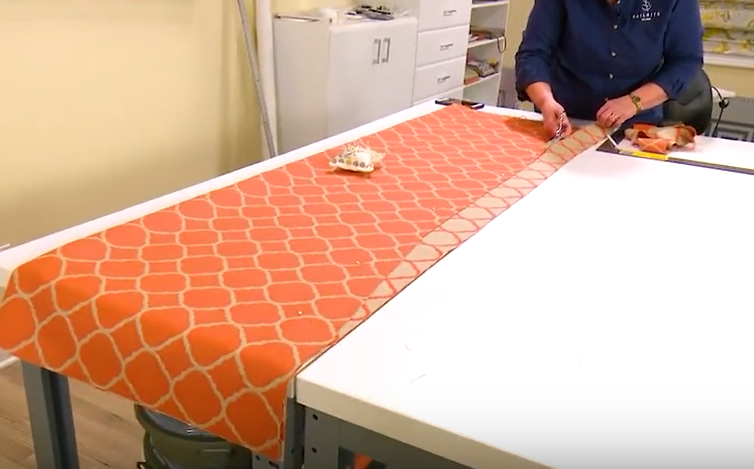
If there is a pattern in the material used, it is a good idea to center that pattern on each shade. If just one shade is to be cut from each fabric length, centering can be accomplished by folding the material in half and measuring out to each side from that point an appropriate distance.
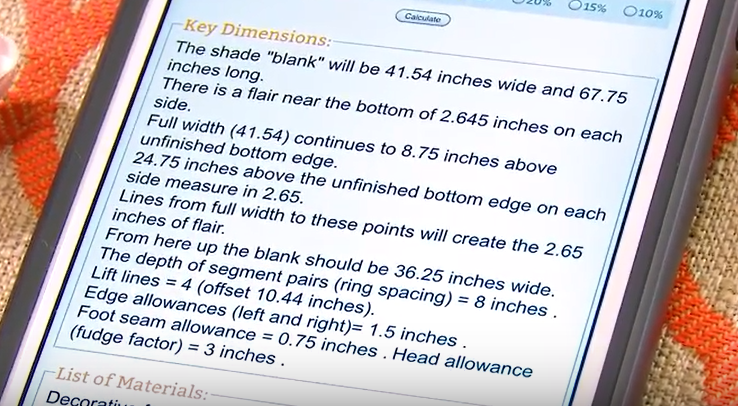
The Calculator Provides Cutting Details
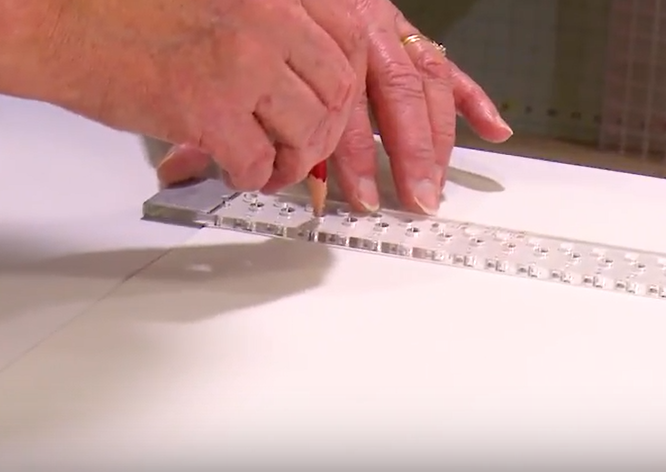
Marking the Flare
Duplicating the Initial Cut
Removing Seam Allowance in the Lining
After the "blank" has been cut, follow instructions in the "Key Dimensions" box to reduce width above the bottom flare. A scissors may be used for all this cutting since the raw fabric edges will be buried in the seams. Of course, a hotknife would prevent raveling so many prefer its use.
Cut lining fabric to the same shape but without the seam allowance indicated in red on the rendition. It should be the width of the finished shade. In length it should match the length of the facing fabric (67.75 inches here or 1720.85 mm).
Both the facing and the lining will be flared at the bottom – this flare is what creates the relaxed “swag”. The flare will start 6 segment depths (3 segment pairs) above the bottom of the shade. The wider the flare is, the more “swag” there will be at the bottom of the shade. The width of the flare is governed by the percentage dropdown choice in the calculator. The intent is to acheive a swag depth that is the indicated percentage of the width of the shade.
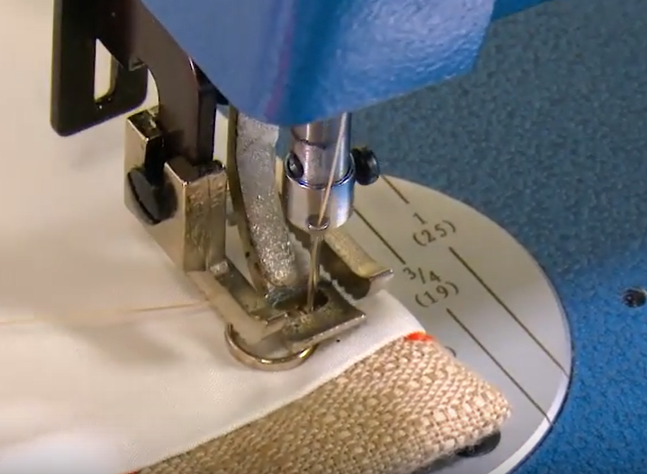
Place the decorative fabric face down over the face up lining. Sew the lining in place first along one edge with the two layers and the bottom flush. Pins can be used to hold everything in place. Use a magnetic guide if possible to place the stitch 3/4 inch (19.05 mm) inside the long edge. Then smooth the fabric layers together over to the other edge until they are flush. There will be 3 inches of excess decorative fabric width -- that is just right. Pin and sew the second long edge. Be careful not to skew the lining as it is attached. Both stitches should be accurately placed 3/4 inch (19.05 mm) inside the edges.
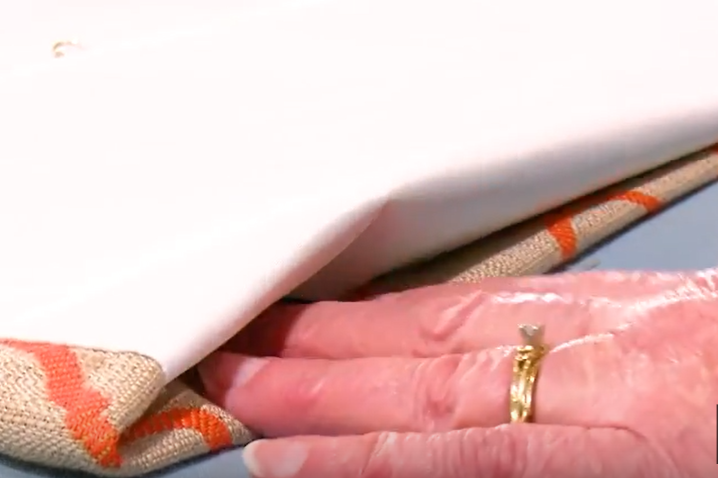
Lining Face to Face with Decorative Fabric
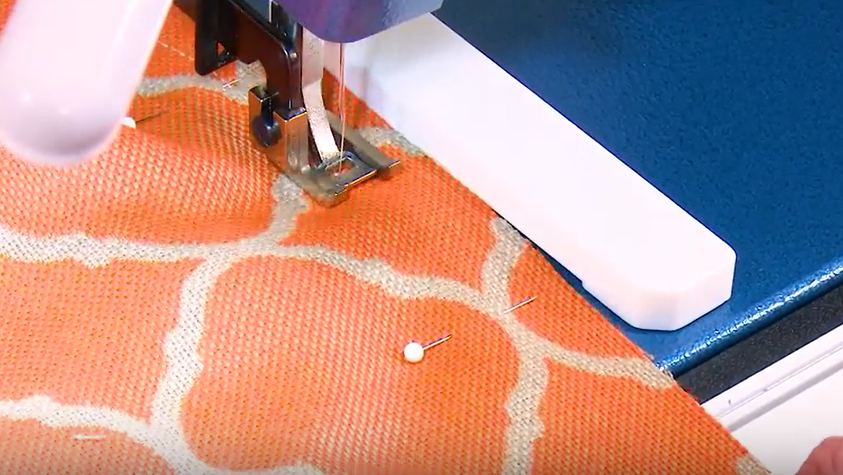
Using the Magnetic Seam Guide
Cut notches roughly 3/8 inch (25 mm) deep at the end and the beginning points on the flare along both edges. This will make it easier to nest the seam allowance inside the inverted assembly. Then turn the shade assembly right side out. Center the lining over the facing fabric. There should be 3/4 inch (25 mm) of decorative fabric showing on both sides of the assembly. Iron the edges flat with the seam allowances folded toward the center of the shade to reduce bulk in the edges. The shade width should now be as intended. Check it out.
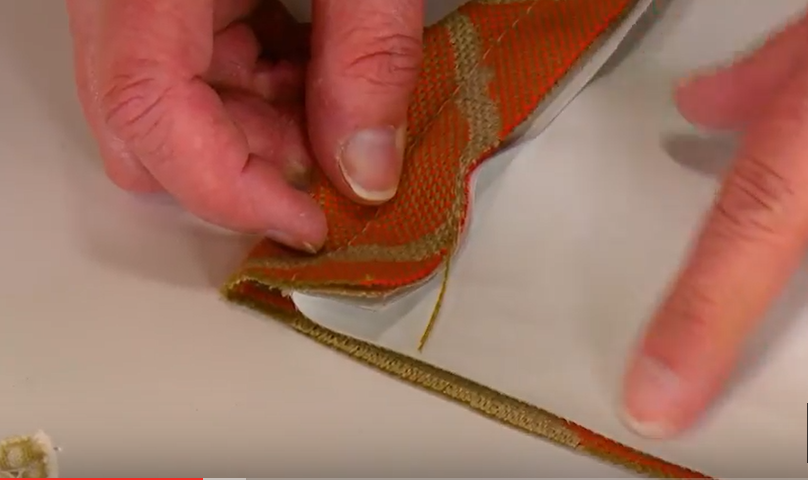
Preparing to Close the Assembly Bottom
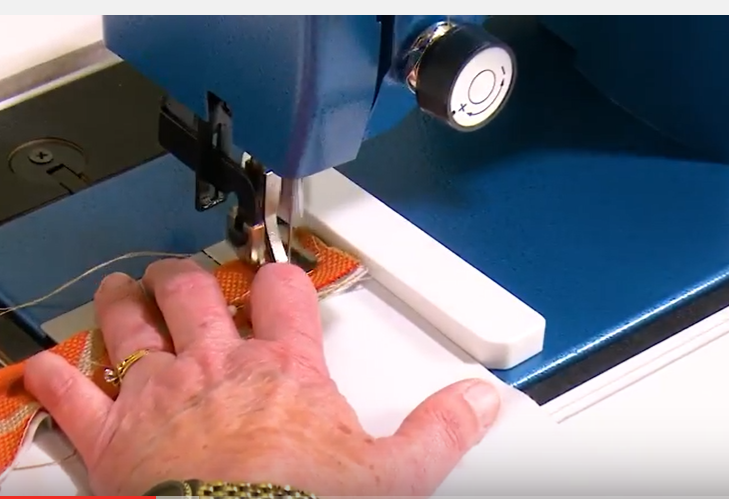
Sewing the Bottom Edge
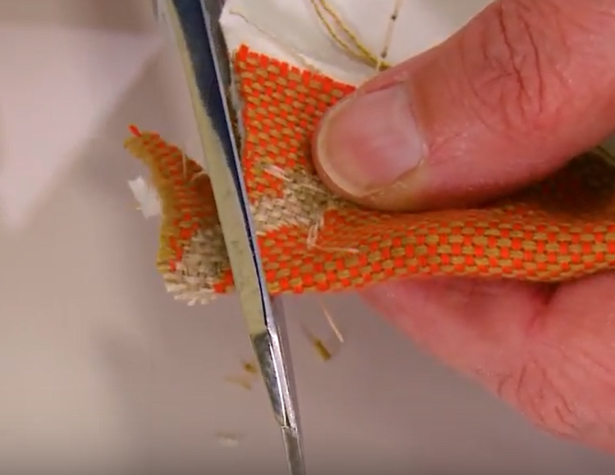
Trimming the Bottom Edge Corners

Pressing the Bottom Edge
The shade should be right side out at this point. Put a couple of pins along the folded edges at the bottom of the assembly to mark the outer width limits. Then turn the assembly wrong side out again. Pin the bottom edges together starting and ending at the marking pins in the folded edges of the decorative fabric. Sew across the bottom edge with a straight stitch .75 inch (19 mm) inside the matched bottom edges. If there were no lining, the bottom edge would be finished by folding it over against the back of the shade .375 inch twice. Remove all pins and trim away a triangle of fabric at each corner to reduce bulk. This cut should not cut into The stitch lines across the bottom of the shade -- it will be slightly less than 3/4 inch deep (in terms of shade height). It can be an inch or so long (in terms of shade width).
Now turn the assembly right side out once again. Carefully poke out the corners at the bottom so they make neat right angles. Press the bottom edge carefully. Roll the seam slightly so that the lining does not show on the front of the shade.
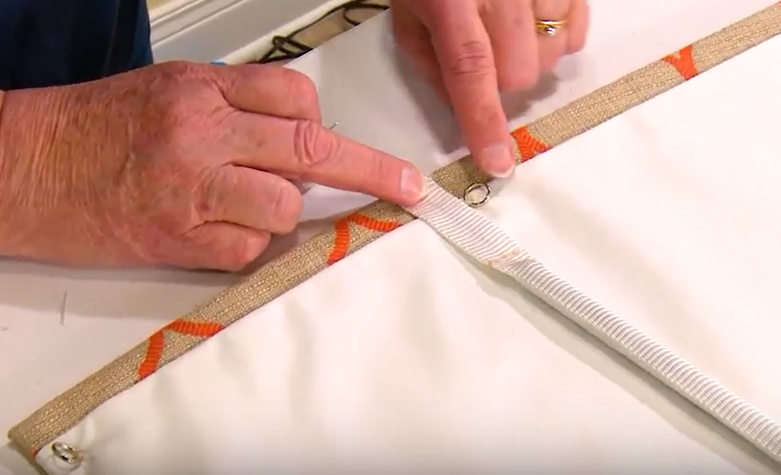
Sew 2 rings just 1 inch (25.4 mm) inside the edges of the shade on the backside at the bottom of each segment pair as indicated on the calculator rendition. The first two will be right at the bottom of the shade. This can be done with a zigzag machine set at 0 stitch length or by hand with needle and thread. Use a thread similar in color to the shade fabric (or a clear nylon) and keep the length of the stitch on the face of the shade to a minimum in order to reduce its exposure.
A Zero Length Zigzag Stitch to Sew Rings
The vertical spacing of the next set of 2 rings will be 2 “standard segments” higher and the next 2 more above that. The calculator indicates proper vertical spacing for these rings.
Use the same vertical spacing for rings across the shade from the flare line all the way to the top as indicated in the rendition.
If the shade is more than 20 inches or so wide, there will be on or more lift line rings indicated on the rendition through the center from the top to the point where the flare begins. The calculator will indicate a "lift line offset" to guide the spacing for these inside rings. Measure from the rings on the outside (not from the edge of the shade fabric).
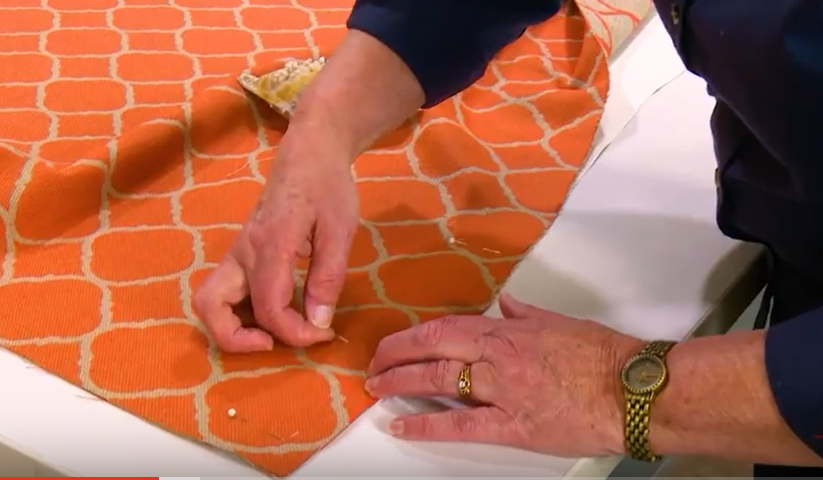
It is a good idea to place a pin at each ring location prior to sewing to ensure that both layers of the shade remain together as they should. Remove the pins one at a time as the rings are sewn in place.
Inside 1 Inch (25.4 mm) Fold in Facing at Top
Fold the Lining Inside
Finished Folds at Top
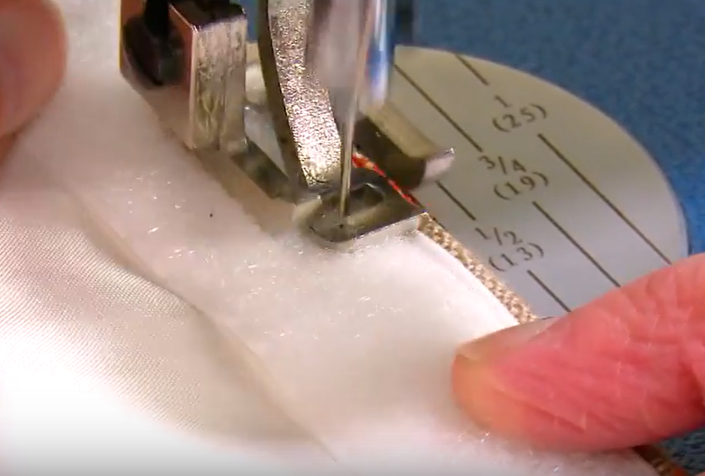
Sewing the Loop Tape
Measure up from the final row of rings a segment pair height and add 1 inch (25.4 mm) to that to provide for finishing the top edge. You will be trimming away a couple inches of fabric or so. Measure carefully from the bottom of the shade to be sure that everything is square.
Fold the extra 1 inch of decorative fabric and lining inside and press it carefully in place. Seamstick can be used to baste the assembly in place.
Finally, baste with pins or seamstick a 1 inch wide Velcro loop tape along the top of the shade (on the lining side) over the folds just completed. Sew it in place with straight stitches along top and bottom.
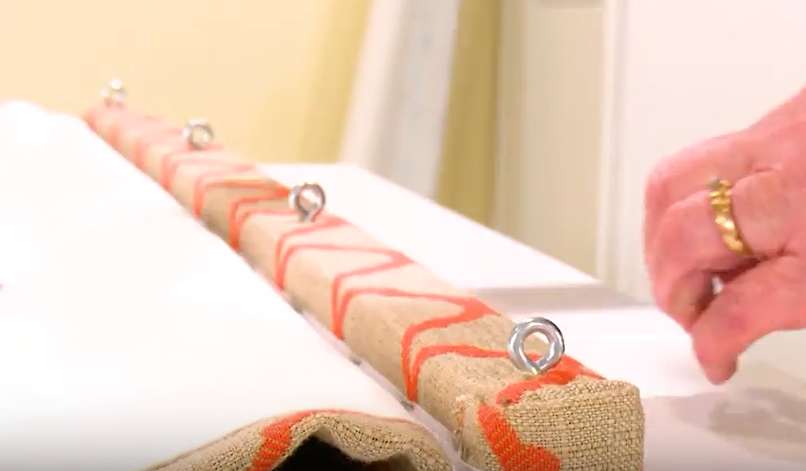
The Weight Rod Attachment Point
Cut a brass weight bar with a hack saw so that it is 1 inch (25.4 mm) shorter than the finished shade width (without flare). Insert it into a length of tubular half inch webbing the exact length of the shade width including flare. Cut the webbing with a hotknife to keep it from raveling. If a hotknife is not available, cut with a scissors and then carefully use a flame to slightly melt the ends. Center the rod in its tube and run straight stitches at each end to keep it centered. Place the weight bar on the back of the shade just under the second ring row and pin the webbing tube ends to the sides of the shade. Then sew the final quarter inch or so of the webbing to the edge of the shade with three stitches each directly on top of the last (this ensures that they will not ravel).
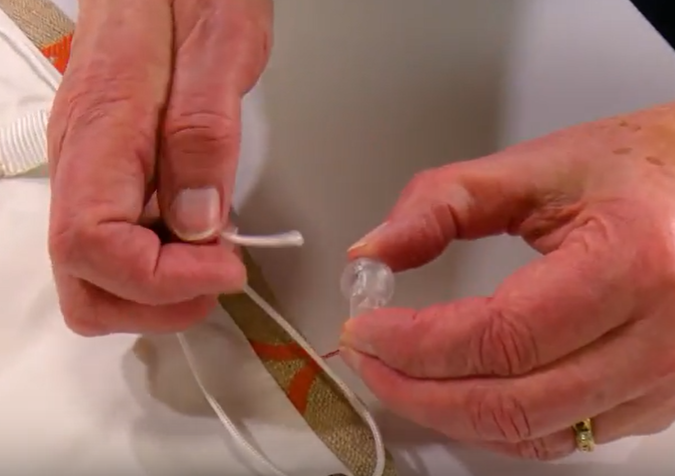
A Lift Line Orb Placement
Insert 2 lengths of the leech line recommended by the calculator (any small braided cord will do), each roughly the length of the full shade plus its width through the bottom 4 rings on each side of the shade. We like to use spring loaded "orb adjusters" to secure these lines below the bottom rings (these are easily adjusted), but it is OK to tie them in place as well. Then slide plastic orbs over the free top ends and down to the 4th rings. Then thread each cord up through the rings above.
Wider shades will also have lift lines through the center that are similarly secured with spring loaded orbs below the final rings which here are at the flare line. These lines are run up to the top of the shade. They should be at least the length of the shade plus its width (all will be trimmed to proper length later).
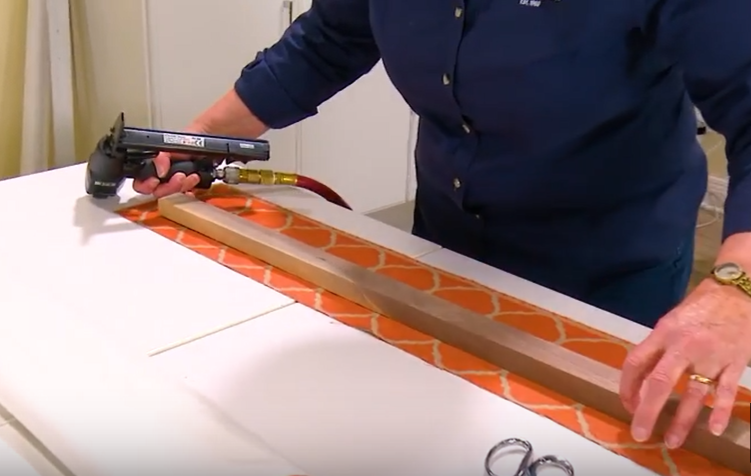
Wrapping the Headboard
Finished Headboard
Prepare a headboard (usually 1 x 2 lumber) as long as the width of the finished shade. The headboard can be wrapped like a present with scrap cloth stapled in place if desired. Or it can be painted. Put screw eyes in the bottom of the headboard that match the placement of the rings on the ribs. Accuracy here is important – otherwise the shade will be pulled to one side or the other when fully retracted. Then staple Velcro hook tape on the front of the headboard.
Pull the hook and loop tape away so the headboard and eyes are fully exposed. Mount the headboard either inside or outside as intended. Thread the lift lines through appropriate screw eyes and on to the eye at the far left or right. When all is threaded, the Velcro tapes can be reattached. Smooth them in place over one another along the front of the headboard.
Reduce the number of cord ends by using a condenser and a tassel if desired. A cleat can be installed to easily secure the shade as desired. We find that cleats are more useful than cord locks with relaxed shades -- because there is very little weight on the lift lines they are hard to set properly.